Whether you're planning a themed party or just want to add some personal touches to your event, crafting is a fantastic way to make your gathering more memorable and unique.
In this post, we'll guide you through two easy yet charming crafts – hand-painted wooden spoons and chic brown paper gift bags. You don't have to be a master crafter to give these a go. All you need is a little creativity, a dash of enthusiasm, and our step-by-step guide.
Hand-Painted Wooden Spoons
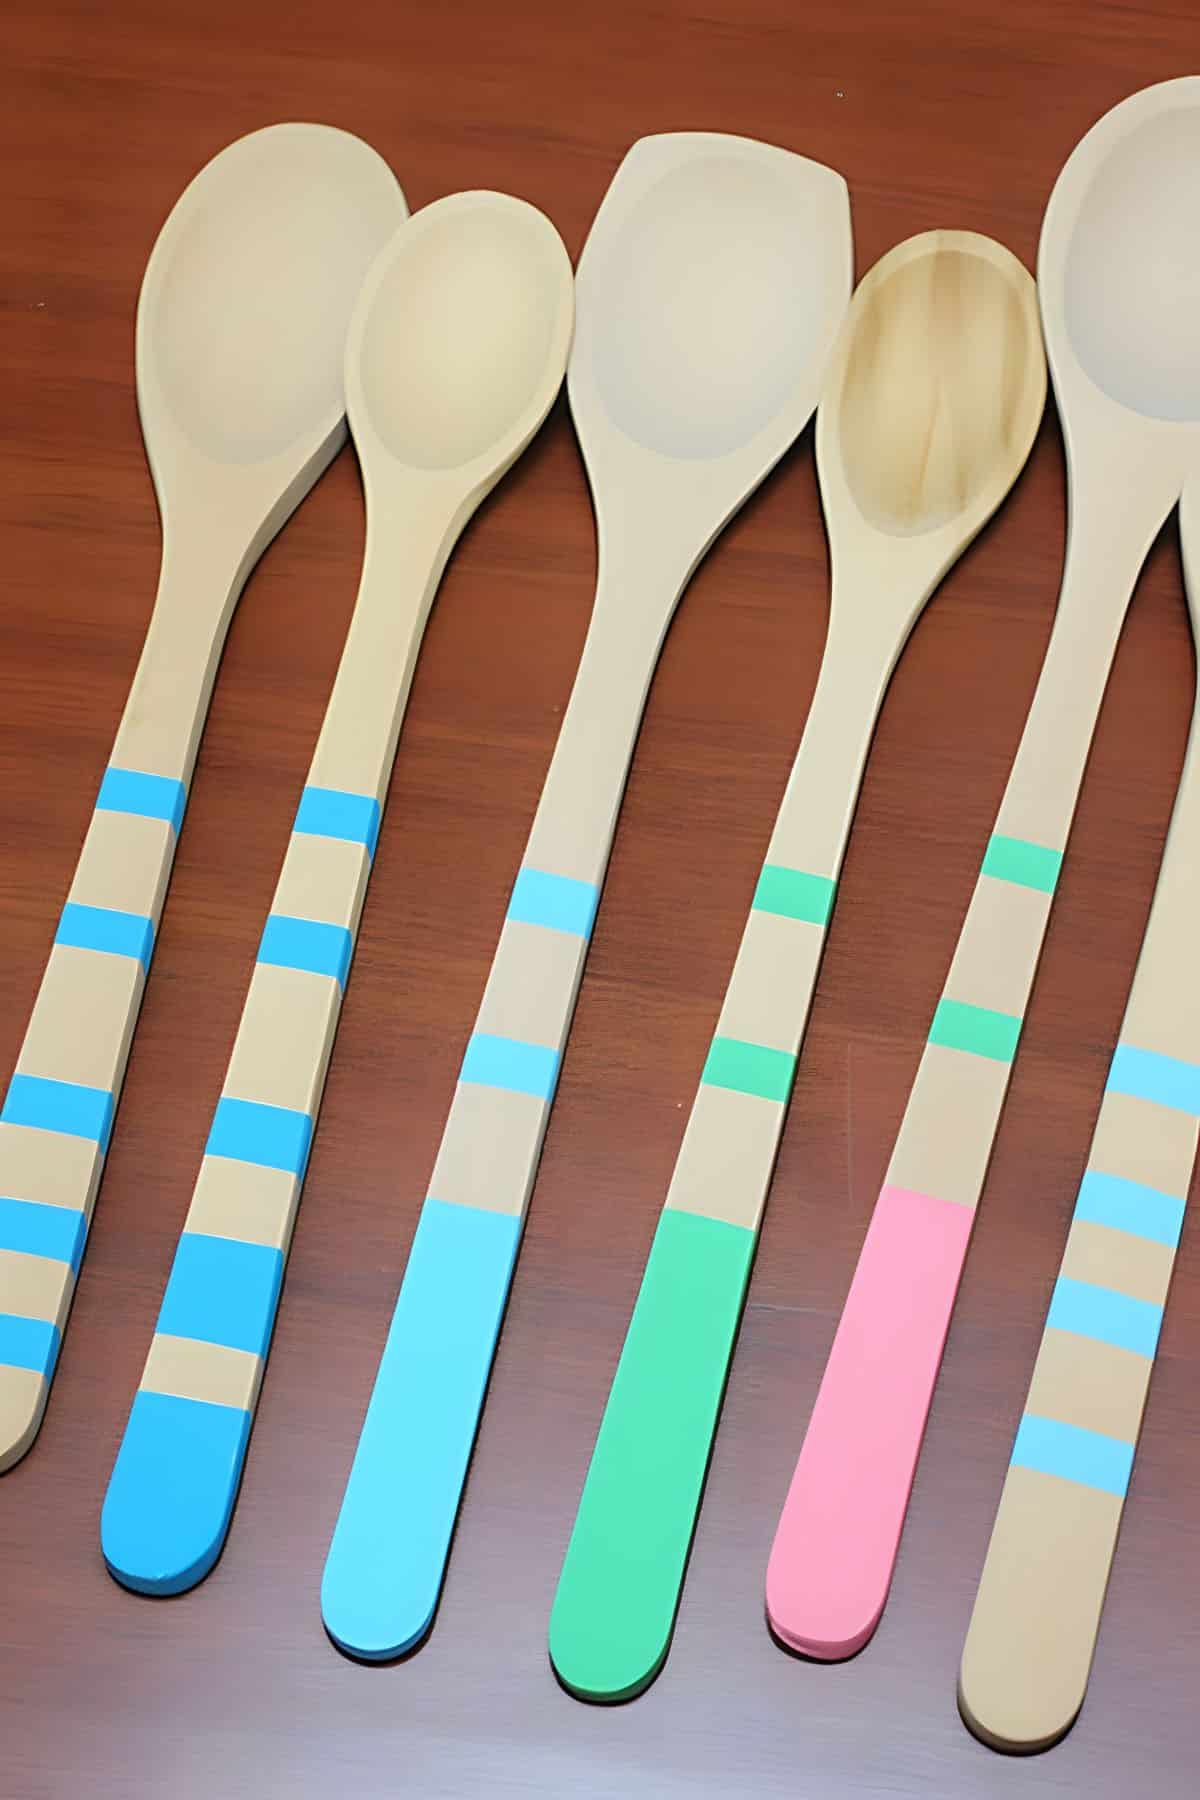
Hand-painted wooden spoons are a delightful way to add a splash of color and personality to your party or even as a thoughtful, homemade gift.
Materials:
- Wooden spoons
- Paint (colors of your choice)
- Paintbrushes
- Painter's tape
Instructions:
- Start by taping off the handle of the spoon with the painter's tape. This will create neat, precise lines for your paint stripes.
- Paint stripes or any design you fancy on the handle. Use as many colors as you want – there's no limit to your creativity!
- Let the paint dry completely before removing the tape.
Gift Idea: Why not attach a small, handwritten parable or a quote to the spoon? It's a unique way to add a personal touch and make your gift more special.
Chic Brown Paper Gift Bags
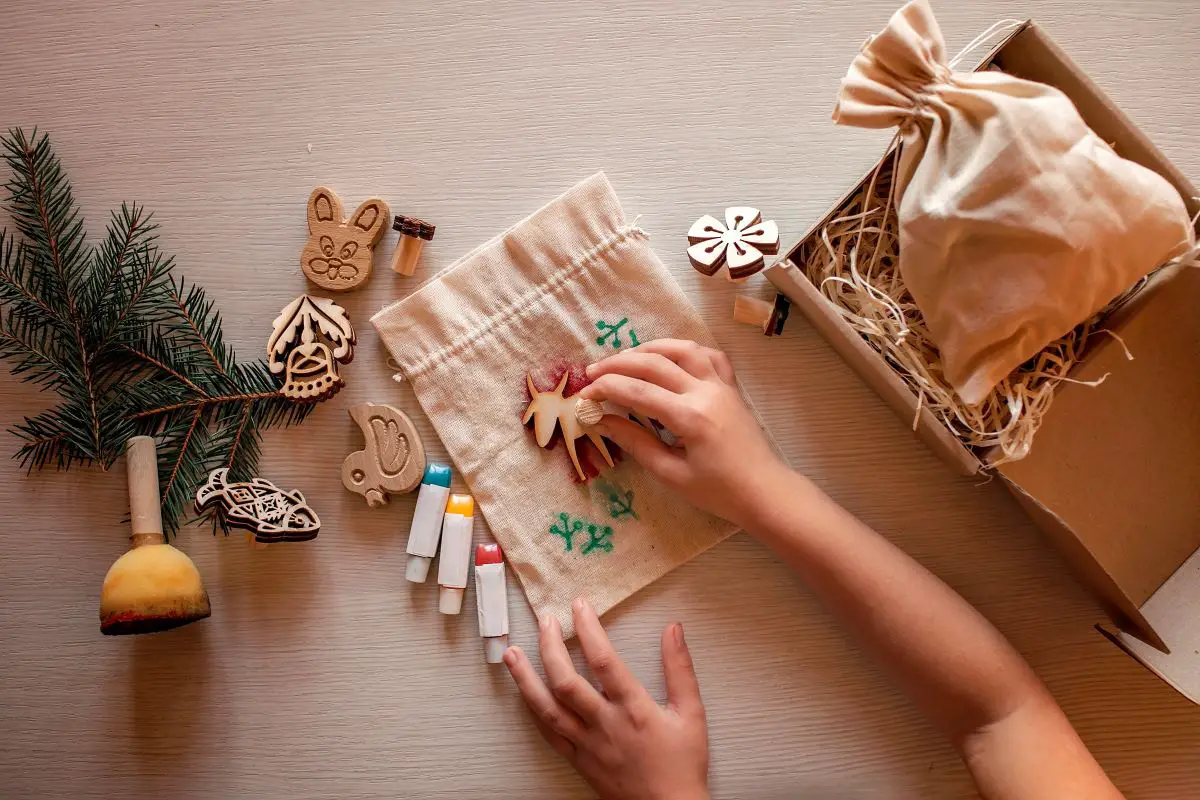
Transforming brown paper bags into chic gift wrap isn't just an effortlessly stylish solution, but also an environmentally-friendly one. We'll teach you how to turn a simple paper bag into an original piece of art.
Materials:
- Plain gift bags (brown paper bags, wax paper bags, or cloth bags)
- Decorative stamps (lace doilies, chandeliers, birds, trees, etc.)
- Stamp ink in different colors (alternatively, you can use acrylic paint for cloth bags)
- Wooden clothespins or patterned masking tape
- Colored or metallic paper cord
- Tissue paper
Instructions:
- Select a stamp design that you love and ink it up.
- Stamp your bag with the design. Feel free to mix and match stamp designs for a unique look.
- Let the ink dry completely before sealing the bag. You can use wooden clothespins or patterned masking tape for this purpose.
- For a shopper bag, add handles using colored or metallic paper cord.
- Fill the bag with tissue paper to protect the gift inside.
Tip: Transform this bag into a makeshift vase by placing a glass inside to hold flowers and water. It's a delightful decoration that doubles as a gift!

Handmade Holiday Cards
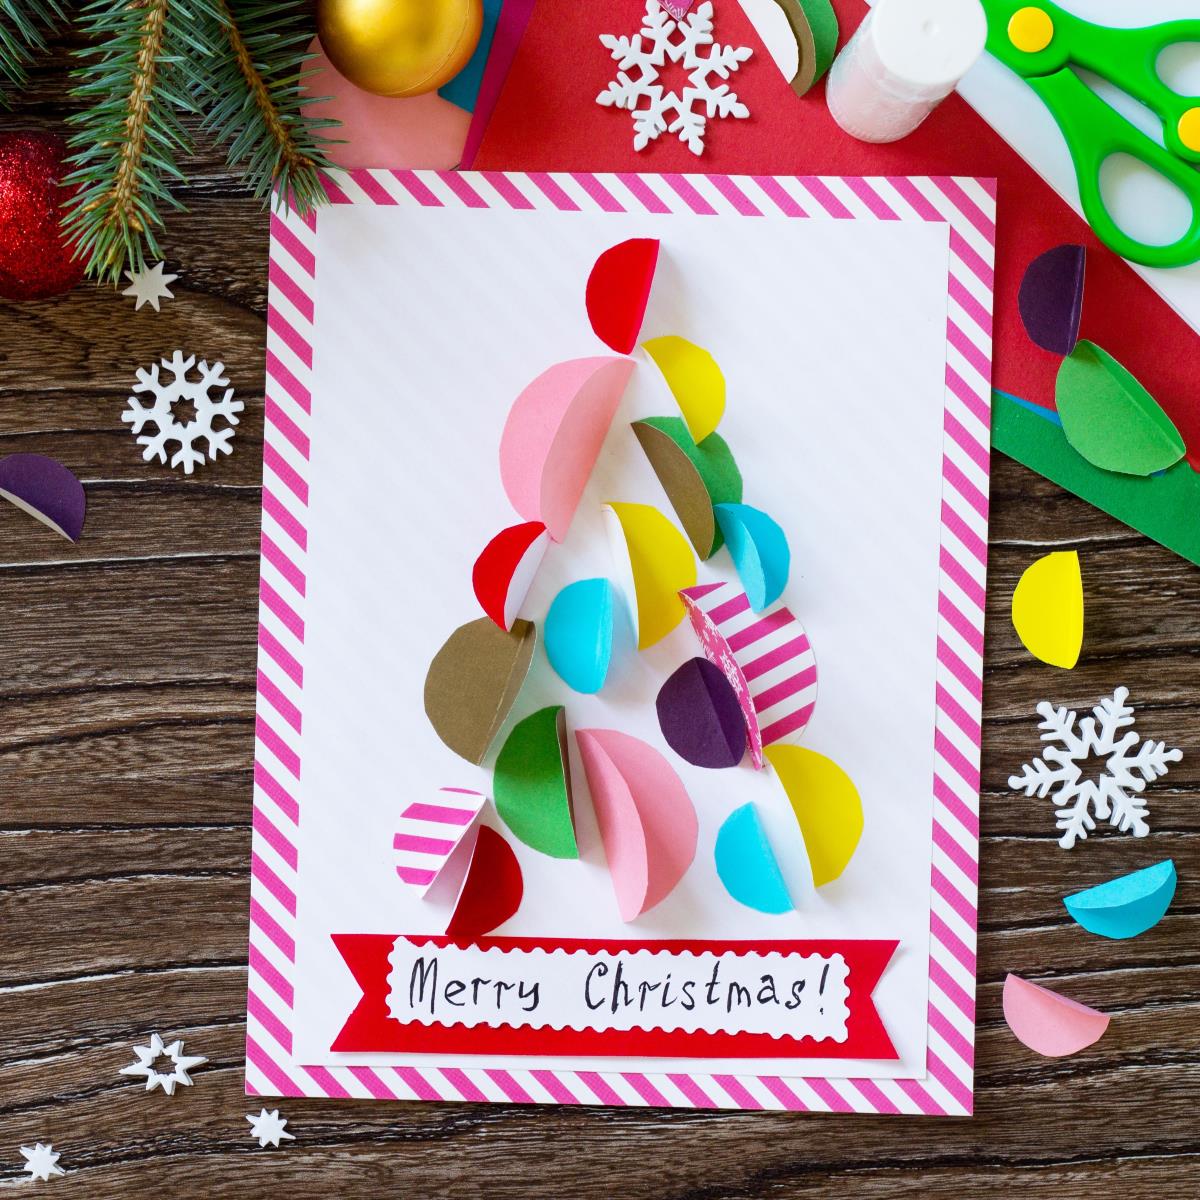
Handmade cards hold a special charm that store-bought ones simply can't replicate. They carry a piece of you - your creativity, your effort, and your love. Let's create a holiday paper trail card that your family will adore.
Materials:
- Cardstock or any thick paper (color of your choice)
- Art supplies (colored pencils, markers, watercolors, etc.)
- Holiday-themed stickers or stamps (optional)
- Glue (if using embellishments)
- Pen for writing your message
Instructions:
- Start by folding your cardstock in half to create your card base. You can make it as large or as small as you'd like.
- Sketch out your design lightly with a pencil. You could draw a winter scene, a Christmas tree, a menorah, a holiday message – whatever feels right.
- Once you're happy with your design, bring it to life with your art supplies. Feel free to get creative here! You can use different techniques like shading with colored pencils, blending with watercolors, or even creating patterns with markers.
- If you want to add some extra flair, use holiday-themed stickers or stamps. You could also use sequins, ribbon, or even a bit of glitter for some sparkle.
- Write a heartfelt message inside your card. Remember, it's the thought that counts, so take your time to express your holiday wishes.
These handmade holiday cards are perfect for family and dear friends, a small token to show how much you care. Plus, they'll make a lovely addition to any holiday décor!
With these simple yet fun party crafts, you'll not only add a personal touch to your celebrations, but also create memorable moments while making them. Happy crafting!



We'd love to hear from you